Are you guilty of overusing hot tools to curl your hair? We were too…and our hair was not happy with us! The fact is, if you’ve convinced yourself that your hair is so unmanageable that you can’t go without heat styling, you may actually be contributing to the problem. Although using a curling wand or flat iron to give your hair some texture, tame those stubborn flyaways, and calm that unruly frizz, might seem like an easy fix, it’s actually doing your hair more harm than good in the long run.

Exposing your hair to heat—especially consistently and at a high temperature— causes breakage, dryness, and is overall extremely damaging. Think using a heat protectant means you’re immune to heat damage? Not exactly. While applying a heat protectant prior to styling can help reduce the effects of hot tools, your hair is still at risk. As well, if you bleach your hair regularly, heat styling your hair every time you wash it can increase dryness and make your hair more brittle. Basically, every time you wrap your hair around that curling wand or twist it around some hot rollers, you’re instantly zapping the moisture out of your hair making it more susceptible to breakage.
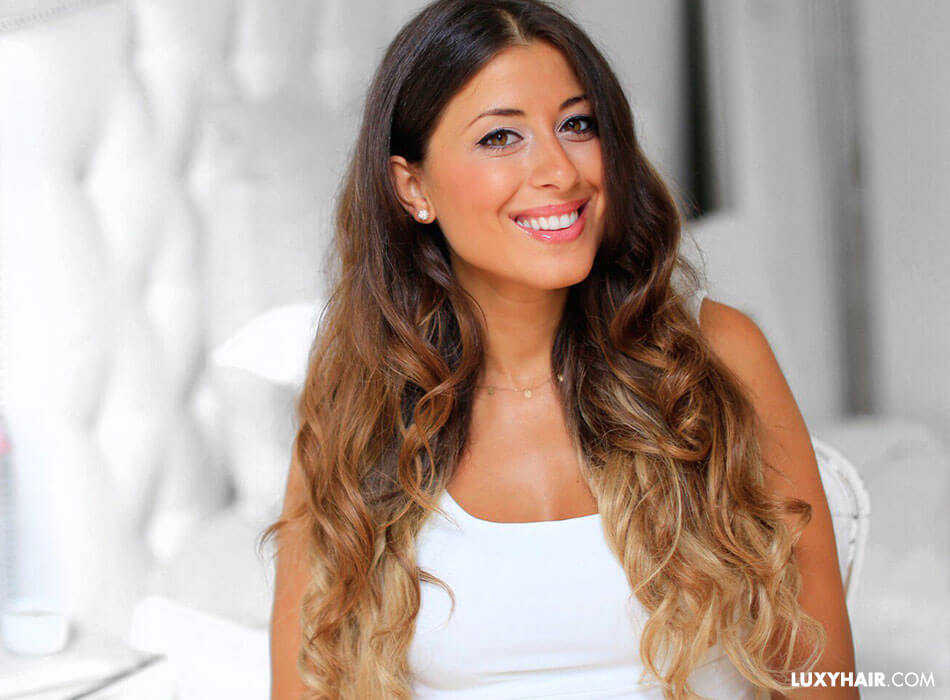
1. Lazy Curls for Lazy Days
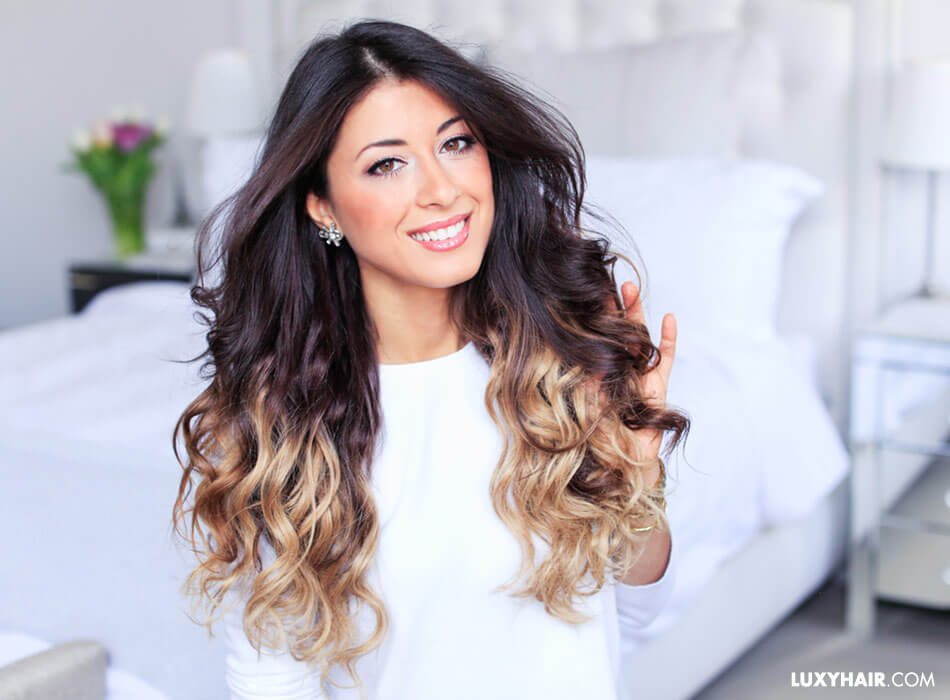
Get Mimi’s look with220g Ombre Blonde Luxy Hair Extensions
If you’re a low-maintenance gal who often teeters between styling her hair and rocking a bun, lazy heatless curls are your perfect match. A ‘do that requires minimal effort, it’s ideal for when you’re working with second or third-day hair, if you want to achieve quick waves while you multitask, or are just having a lazy day. In the following tutorial, Mimi wears her 220g Ombre Blonde Luxy Hair extensions, however, this heatless hairstyle does not require hair extensions.
STEP 1
Start off by pulling your hair up into a ponytail.
STEP 2
Spray small one-inch sections of hair with water so they are a little bit damp, wrapping each individually around your fingers to create a curl.
STEP 3
Use a clip to secure the curl against your scalp. Once you’ve worked through your entire head, let time work its magic.
STEP 4
Once your hair air dries completely, unpin the individual curls and take down your ponytail.
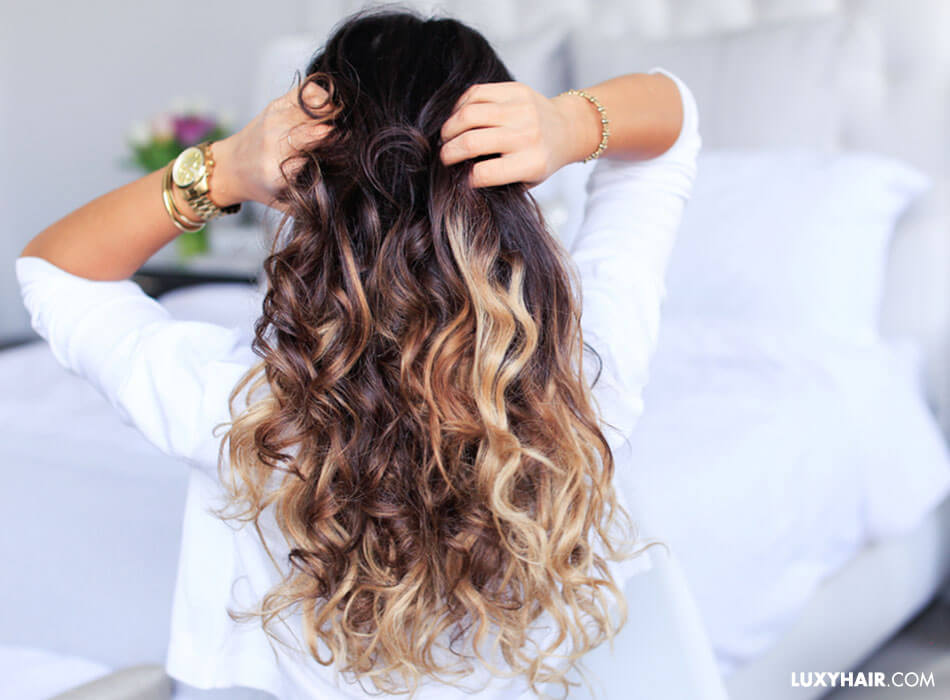
Get Mimi’s look with220g Ombre Blonde Luxy Hair Extensions
The result? Gorgeous, bouncy, va va voom curls without the hassle. You can even repeat the same technique on your hair extensions before you secure them to your head for a double dose of volume!
2. Runway Ready Heatless Waves
There’s something about the model-off-duty look that has a certain appeal. Minimal, no-makeup makeup, imperfect waves, and a classic outfit is the epitome of effortless-chic. This heatless waves tutorial will help you recreate the effortless runway bends you’ve always dreamed of, without a curling wand. All you’ll need to achieve this look are a few hair clips, hairspray, a spray bottle with water, and some hair wax.
STEP 1
Start at the base of your hair and work in small sections, using your spray bottle to dampen each section as you go. Begin wrapping each section of hair around your middle and index finger in the same way you would wrap your hair around a curling wand.
STEP 2
Repeat all over your head, pinning each curl into place as you go.
STEP 3
Finish off with some hairspray, leaving some time to allow your hair to set (usually about 40 minutes depending on the length and thickness of your hair).
Once you take down your curls, warm up some hair wax between your hands and apply it to your hair in a scrunching motion. This will help prolong the life of your heatless waves while giving you that coveted tousled look. Sounds pretty simple, right? RELATED POST

How to make your curls last longer
3. Heatless Headband Waves
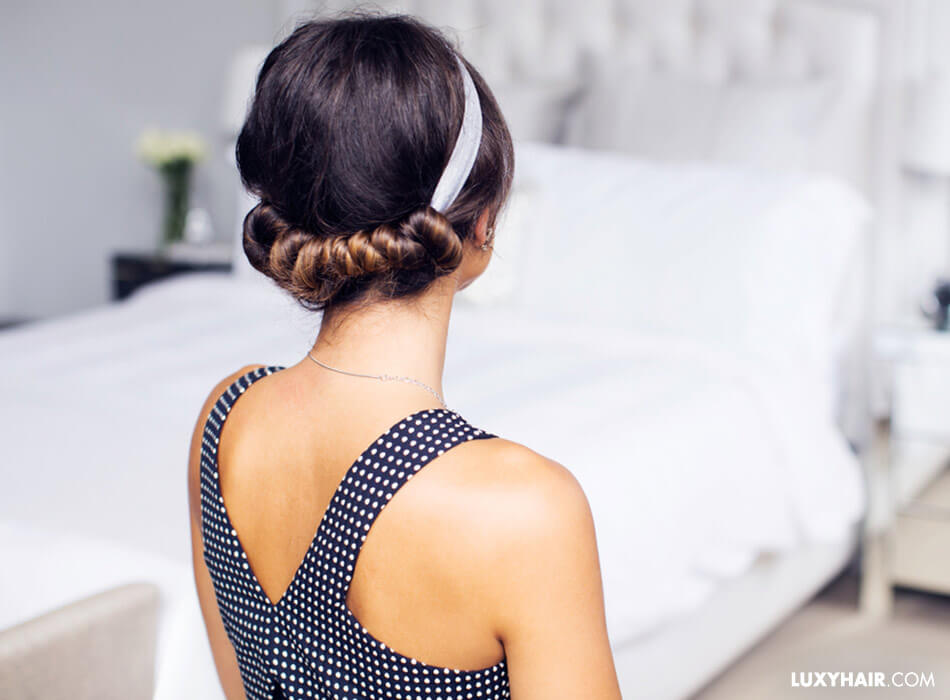
Don’t have time to wait for your curls to dry? That’s okay! If you want a simple tutorial that doesn’t require multiple clips and pins, this technique is perfect for you since all it requires is a single headband.
STEP 1
With the headband around your head and your hair damp, begin by dividing your hair into two sections.
STEP 2
Then, twist each section away from your face wrapping each twisted section over and under the headband until you reach the end of your hair.
STEP 3
Use some hairspray to hold everything in place and let your style set. Be sure to let your hair dry completely before letting it down.
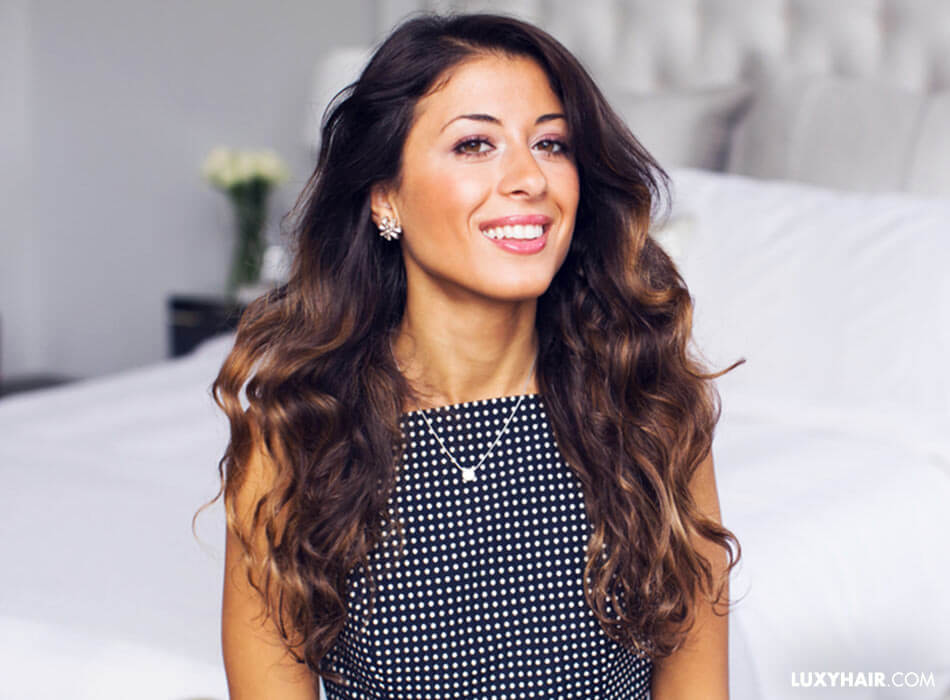
Finish off with some texturizing pomade for some added hold and definition and you’re done!RELATED POST

Hair Products 101: Everything You Need To Know
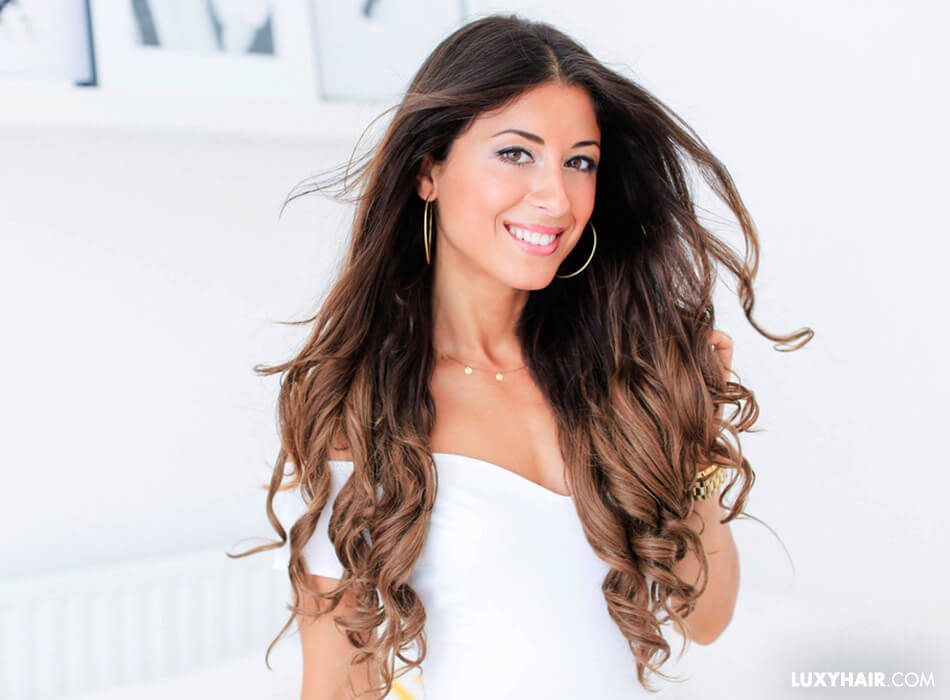
4. Bouncy Heatless Curls
If you have limp, fine hair and want to inject some bounce and volume into your strands, this is the perfect heatless curls tutorial for you. Once again, all you need are a few hair clips, a spray bottle filled with water, and your hairspray of choice. Mimi is wearing 160g Ombre Chestnut Luxy Hair extensions in this video for extra length and thickness.
STEP 1
Section off your hair into one-inch sections, using a spray bottle to dampen your hair as you go.
STEP 2
Then, loosely wrap individual sections of hair around your middle finger, slide the curl down and secure it with a hair clip. Unlike the previous heatless waves tutorial where you used both your middle and index finger, use your middle finger alone, as this will give you a tighter curl—think of it as though you are using a smaller barrel curling wand.
STEP 3
Repeat all over the rest of your head, ensuring your sections are small enough that the curls won’t fall out of the clips.
Top it off with some hairspray before unravelling your bouncy, long-lasting curls.
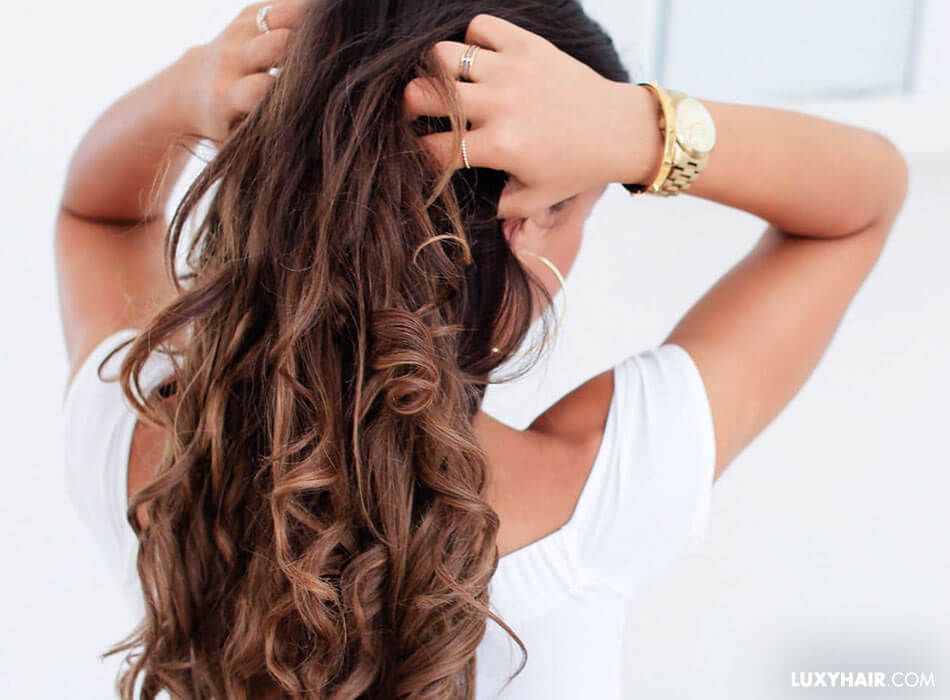
5. Mermaid Waves

Get Mimi’s look with 160g Ombre Chestnut Luxy Hair extensions.
Whoever said you can’t be a mermaid? With a few hair ties, a comb, a brush, some hairspray, and a spray bottle of water, you can achieve the mermaid waves of your dreams—no heat required. Mimi is wearing 160g Ombre Chestnut Luxy Hair extensions in this video to give her hair an added boost of volume and length.
STEP 1
Start off by parting your hair down the middle for this look, spraying your hair with water until it is damp.
STEP 2
Then, divide your hair into two sections and create a regular braid on each side, taking extra care to ensure you are pulling firmly as you work your way down the hair.
STEP 3
Finish off with some hairspray and allow the hair to thoroughly dry before undoing the braids.
Get Mimi’s look with 160g Ombre Chestnut Luxy Hair extensions
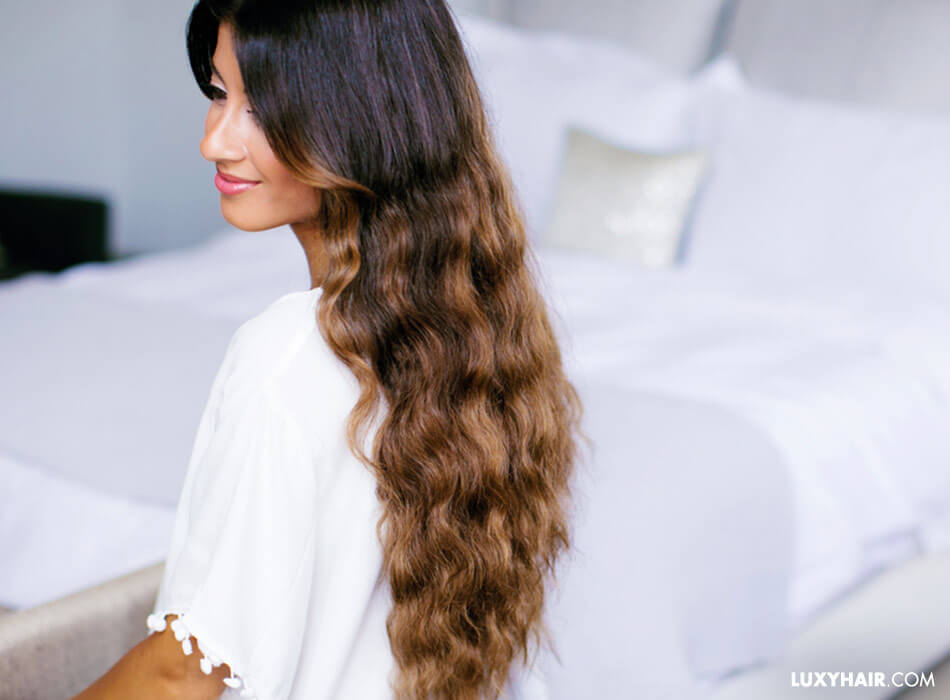
Finally, unravel and reveal gorgeous, beachy, S-shaped waves! Your hair will look like the saltwater just worked its magic.
GET LONGER, THICKER HAIR INSTANTLY
6. Heatless Paper Towel Waves
Get Mimi’s look with 220g Ombre Blonde Luxy Hair extensions
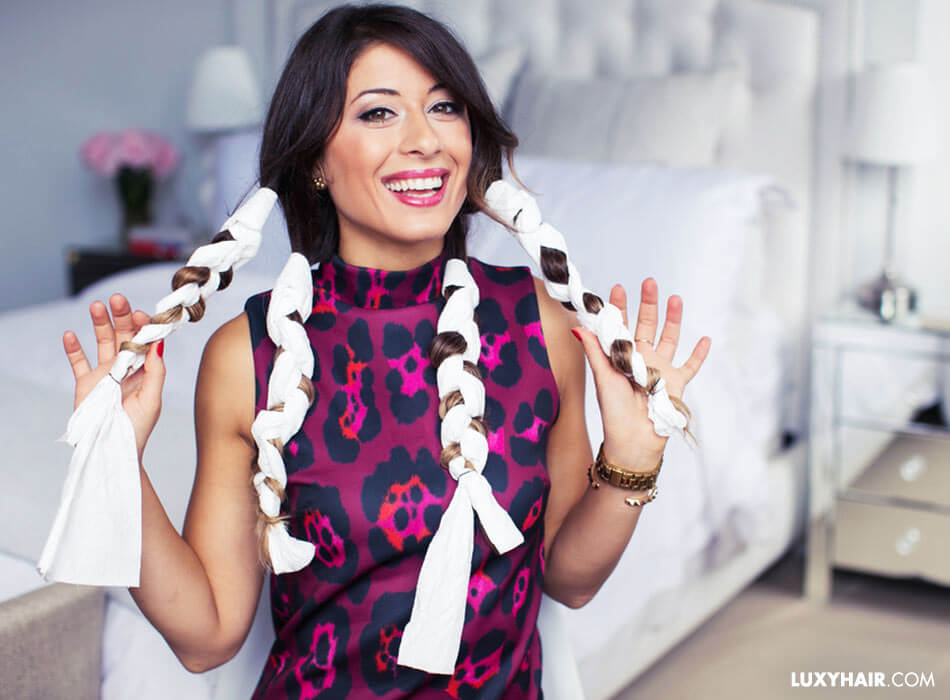
Want to switch it up and have a little bit of fun while waiting for your heatless waves to dry? Try out this paper towel waves tutorial! This funky method is guaranteed to put a smile on your face. To achieve the look, all you need is a roll of paper towels, some hair elastics, a hairbrush, hairspray, and a spray bottle filled with water. Mimi is wearing 220g Ombre Blonde Luxy Hair extensions in this tutorial.
STEP 1
Start off by ripping off a generous amount of paper towel (about twice the span of your hair length) and fold it horizontally so that it is about one-inch thick.
STEP 2
Then, divide your hair into four sections, braiding it in with the paper towel and securing it with a hair elastic at the bottom.
STEP 3
Repeat this with each section so that all of your hair is braided around the paper towel.
STEP 4
Finish off with some hairspray and allow to dry thoroughly before unraveling your hair.

Get Mimi’s look with 220g Ombre Blonde Luxy Hair extensions
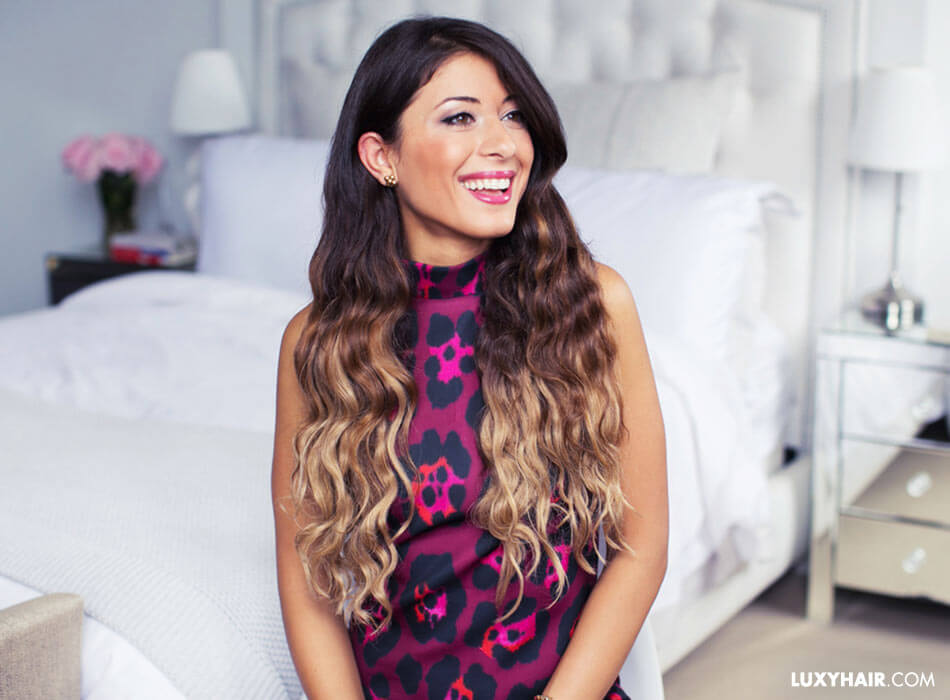
The result? Easy, breezy, loose waves! Try it out, snap a pic, and share your silly paper towel selfie with us at #luxyhair.
7. Heatless Magazine Waves
Get Mimi’s look with 160g Ombre Chestnut Luxy Hair extensions
Here’s another great way to get creative with your heatless waves. Plus you’ll be putting those old magazines you have lying around to use! Mimi is wearing the 160g Ombre Chestnut Luxy Hair extensions in this tutorial.
STEP 1
Begin by gently brushing out your hair to get rid of any tangles.
STEP 2
Using a pair of scissors, cut each magazine page down the center vertically and then fold it in half. If it’s a tighter curl you’re after, fold the paper again.
STEP 3
Next, grab a one-inch section of hair and spray it with water until it is damp. If your hair is naturally straight and doesn’t usually retain curl, you can use some hairspray to help your hair hold.
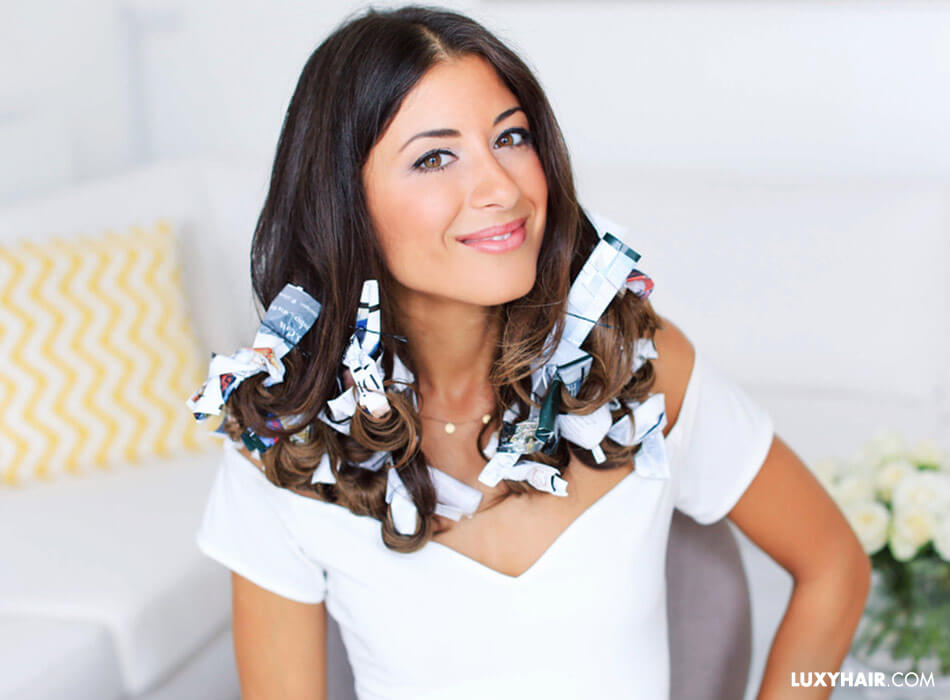
STEP 4
Then, begin wrapping your hair around the strip of paper until you reach the midway point of your hair. Tie the ends of the paper in a knot to secure the curl in place and repeat on the rest of your hair. If your hair is especially slippery, you can also use bobby pins to secure it on the strips of magazine paper.
Get Mimi’s look with 160g Ombre Chestnut Luxy Hair extensions
Once your hair is fully dry, take it down to reveal gorgeous, heatless magazine waves.
8. Heatless Donut Waves
Did we get your stomach rumbling? While this tutorial does not involve any sugar-filled, deep-fried dough, it’s equally as satisfying. Another easy-peasy way to achieve heatless waves—all you need is a hair donut, a hair elastic, and a spray bottle filled with water. Mimi wears her 220g Ombre Blonde Luxy Hair extensions in this video for extra volume.
STEP 1
Start off by brushing your hair back and gathering it into a high ponytail at the crown of your head.
STEP 2
Then, pull the ponytail through your hair donut and split the hair into two equal sections, spraying it with water until it’s damp.
STEP 3
Taking one section at a time, wrap it over and under the hair donut until you’ve reached the end of your hair. Be sure to allow your hair is fully dry before taking it down.
Get Mimi’s look with 220g Ombre Blonde Luxy Hair extensions
If you don’t have a hair donut on hand, you can easily make your own. Simply take an old sock and cut off the tip, rolling it inwards into itself until you reach the end of the fabric and voilà, you’ve made your own hair donut! You can also repeat this technique on your hair extensions before you clip them into your hair.
Heatless Beach Waves
Planning a trip to the craft store anytime soon? Turns out, pipe cleaners are a magic tool when it comes to achieving heatless beach waves. To get the look, grab a bunch of pipe cleaners, twisting the tops and bottoms together ensuring they are all lined up closely so they resemble the barrel of a curling wand. Mimi wears her 220g Ombre Blonde Luxy Hair extensions in this video for extra volume.
STEP 1
Working with fairly large sections of hair, grab a chunk from the back and spray it with water until it is damp. Then wrap the hair around the makeshift barrel, locking it into place by folding the pipe cleaners around the hair at the top, middle, and bottom.
STEP 2
Repeat the process all over your head and then give the style some time to set while you do your makeup or eat breakfast.
Get Mimi’s look with 220g Ombre Blonde Luxy Hair extensions
Alternatively, allow your hair to set while you sleep and wake up with gorgeous, beachy waves.
There you have it: nine great ways to achieve gorgeous curls, and protect your hair from the damaging effects of heat. We know that sometimes reaching for your curling iron can seem instinctual; maybe you think it’s the easiest way to add a little texture to your straight hair or perhaps you can’t picture a frizz-free world with no hot tools. Although it may seem like a quick fix at the time, using heat on your hair actually makes things worse in the long run.
So whether your hair is dry, damaged, or plain old unmanageable, challenge yourself to go a week without heat. Although it may seem difficult at first, it does get easier with time. Plus, your hair will actually get healthier and more manageable when you’re not consistently exposing it to heat. Not to mention, you’ll be preventing split-ends, hair breakage, and flyaways.RELATED POST

Challenge: A Week Without Heat
While every single heatless wave technique may not work for everyone, remember to be patient; it’s truly a matter of trial and error. Depending on the length and natural texture of your hair, its ability to hold curl, and your personal preference, you may find that some heatless curling methods work better than others. If these tutorials seem tricky initially, we promise: once you get in the groove of heat-free styling, creating these heatless waves will be second nature. Best of all, you’ll be saving your hair a whole lot of heat damage and over time, your natural texture will get more manageable.
If you recreate any of these hairstyles, be sure to snap a before and after photo, and share it with us on Instagram by tagging #luxyhair